Introduction
Is it true or not that you are as yet finding it challenging to make your ideal pizza? Try not to fear that. In this article, we’ll help you by giving bit-by-bit cooking guidelines, sauce and garnish exhortation, pizza mixture and baking tips, as well as a suggested pizza recipe. In general, the keys to an ideal natively constructed pizza are high intensity, legitimate planning of fixings, and cautious cooking.
Stage 1: Setting up Your Pizza Dough
For dainty outside pizza:
- Regular flour is generally utilized and yields a firm hull.
- Bread flour can likewise function admirably.
For thick-outside layer pizza:
- A mix of universally handy and bread flour accomplishes a delicate and chewy covering.
- Semolina can be added for additional surface and chewiness.
For Neapolitan-style pizza:
- 00 pizza flour, like Caputo, gives a delicate, breezy outside layer.
For New York-style pizza:
- High-gluten bread flour, or sir lancelot flour, accomplishes a firm, bread-like outside.
- Universally handy people can likewise work.
A few critical contemplations in picking pizza flour:
- Protein/ content influences stretchiness and chewiness
- Finely processed 00 pizza flour can yield a gentler covering
Entire grain flour will make a denser, chewier outside layer.
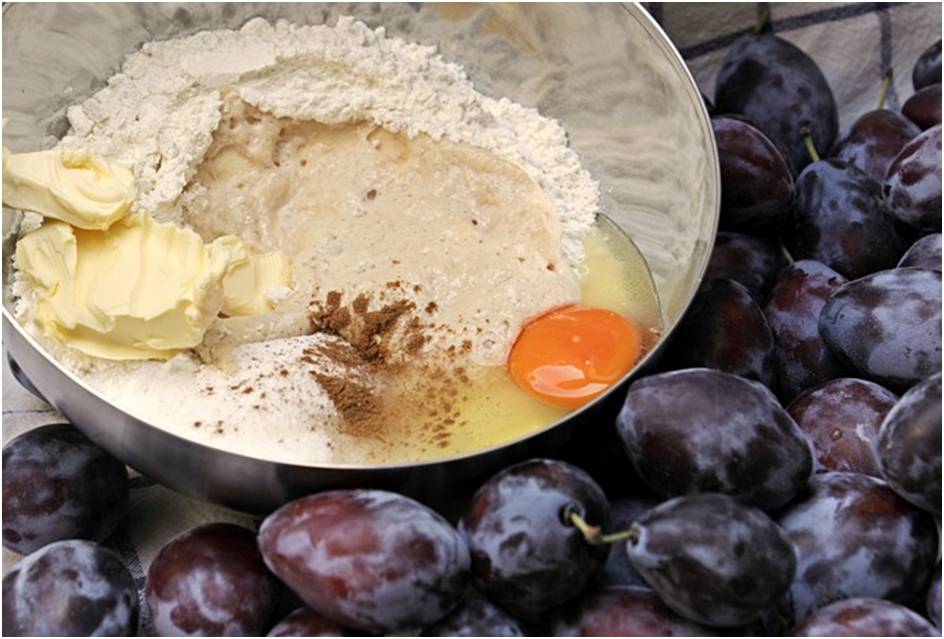
Making the Batter Blend
To make your mixture, start by joining 1-1/2 cups of warm water (around 110°F) with 2-1/4 teaspoons of dynamic dry yeast, or moment yeast, and a teaspoon of sugar to initiate the yeast. Permit this combination to sit for around 10 minutes; you ought to see it become foamy, it is dynamic to show that the yeast. Then blend in 3-1/2 cups of bread flour, 2 tablespoons of olive oil, and 2 teaspoons of salt. It’s essential to add salt and oil after the yeast has completely activated since they can upset yeast improvement.
For plying, move the batter onto a delicately floured surface and overlap it onto itself. Ply it by pushing the mixture downwards and advancing with the impact points of your hands. Proceed with this interaction for around 5-7 minutes until the batter is smooth, versatile, and somewhat cheap but not tacky. Add flour in little additions, assuming that the batter is exorbitantly tacky.
Allowing the Mixture To rise
Once plied, place the mixture in a gently oiled bowl and go it to cover all sides with oil. Cover the bowl with a moist material or saran wrap, and let the batter ascend in a warm region until it duplicates in size, normally taking around 1 to 2 hours. The ascent time can shift contingent upon the temperature and climate, so watch out for the mixture and permit it to ascend until it arrives at the right size as opposed to sticking rigorously to the time.
Stage 2: Gathering the Pizza

Carrying Out Your Pizza Hull
To carry out your pizza covering, start by tidying your functioning surface with a touch of flour to forestall staying. Put the laid batter ball on a superficial level and begin squeezing it down from the middle outwards, passing on a slight edge around the edge to frame the outside layer.
In the event that the batter opposes or shrivels, let it rest for a couple of moments prior to proceeding. You can involve a moving pin for a uniform thickness or hand-stretch it in the event that you favor a more conventional strategy. Go for the gold of about 14 inch for an even cook.
Applying the Sauce
For a proportional pizza, spread roughly 2-3 tablespoons of pizza sauce uniformly over the outer layer of the covering, leaving the raised edge exposed to make a hull. Utilize the rear of a spoon or a scoop to circulate the sauce, beginning from the middle and moving outward in a twisting movement. Be mindful so as not to over-burden the mixture, as an excess of sauce can bring about a saturated pizza.
Adding cheddar and Toppings
Sprinkle a liberal measure of mozzarella cheddar over the sauce, guaranteeing an even dispersion. Continue with your pickled fixings, for example, pepperoni, ringer pepper, and new basil, for a tasty pizza. In the event that you’re making a veggie lover’s pizza, you can add a combination of vegetables like mushrooms, onions, and olives. For pepperoni pizza fans, layer on the pepperoni cuts, leaving some in the middle between each to forestall covering. Sprinkle a light covering of olive oil over the fixings to improve their flavor and help with cooking. Keep in mind, adding an excessive number of fixings can overload the hull, so use them sparingly.
Stage 3: Baking the Pizza
Preheating Your Broiler

For a natively constructed pizza that has a firm hull, preheating your broiler is a non-debatable step. Your stove ought to be at full temperature before the pizza goes in. Wrench up the intensity to the most noteworthy setting, which is regularly between 450-500°F (230-260°C).
Permit your broiler to warm for no less than 30 minutes, particularly in the event that you are utilizing a pizza stone or baking stone, as they take more time to arrive at the right temperature.
Utilizing a Pizza Stone or Baking Sheet
A pizza stone is great for mimicking the climate of a pizza stove and giving you a fresh outside layer. Place the pizza stone on the stove during the preheating stage. In the event that you don’t have a pizza stone, utilize an uncompromising baking sheet or a pizza container. For sheet dish pizza or rectangular pizza, a great rectangular baking sheet is ideal. You could likewise sprinkle cornmeal on the stone or material paper on the baking sheet to forestall staying and add surface.
To move the pizza:
Pizza strip: On the off chance that you’re utilizing a stone or steel, sprinkle it with cornmeal. Utilize a pizza strip to slide your pizza onto the stone.
Material paper: For baking sheets, put your molded mixture on material paper for easy taking care of and moving.
Conclusion
Setting your pizza high on the stove augments how much intensity it gets and empowers you to involve your oven for an additional lift. Besides, as Dan calls attention to, it permits the dough puncher to exploit the oven for extra intensity both previously and during the prep: “I regularly flip on the grill around 10 minutes before I begin to heat for that truly serious intensity to get the stone or steel as hot as could really be expected.
And afterward I flip the oven on or off as I’m heating up, in light of how the highest point of the pizza is going according to the base.” With experience, Dan realizes about how long it’ll require to get the underside of his pies to freshen up pleasantly, so on the off chance that it seems like the highest point of the pizza isn’t keeping pace, he’ll turn on the grill to give it a little lift.
Utilizing your grill to superheat your baking surface and to goose the highest point of the pie while it cooks is certainly an “high level” strategy, requiring practice and an excellent idea of how hot and how equitably your specific grill component runs; it’s not difficult to go overboard and end up with a pizza that is more singed than scorched. Be that as it may, as Dan, I concur it’s most certainly worth investigating whenever you’ve expanded the intensity yield you can get from your baking surface and the base component alone.